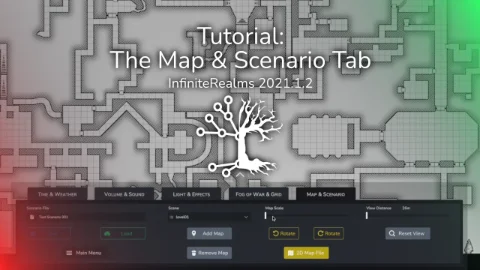
Map & Scenario
The Map & Scenario Tab hosts a whole set of functions concerning the management of scenarios and the basic settings of the current map.
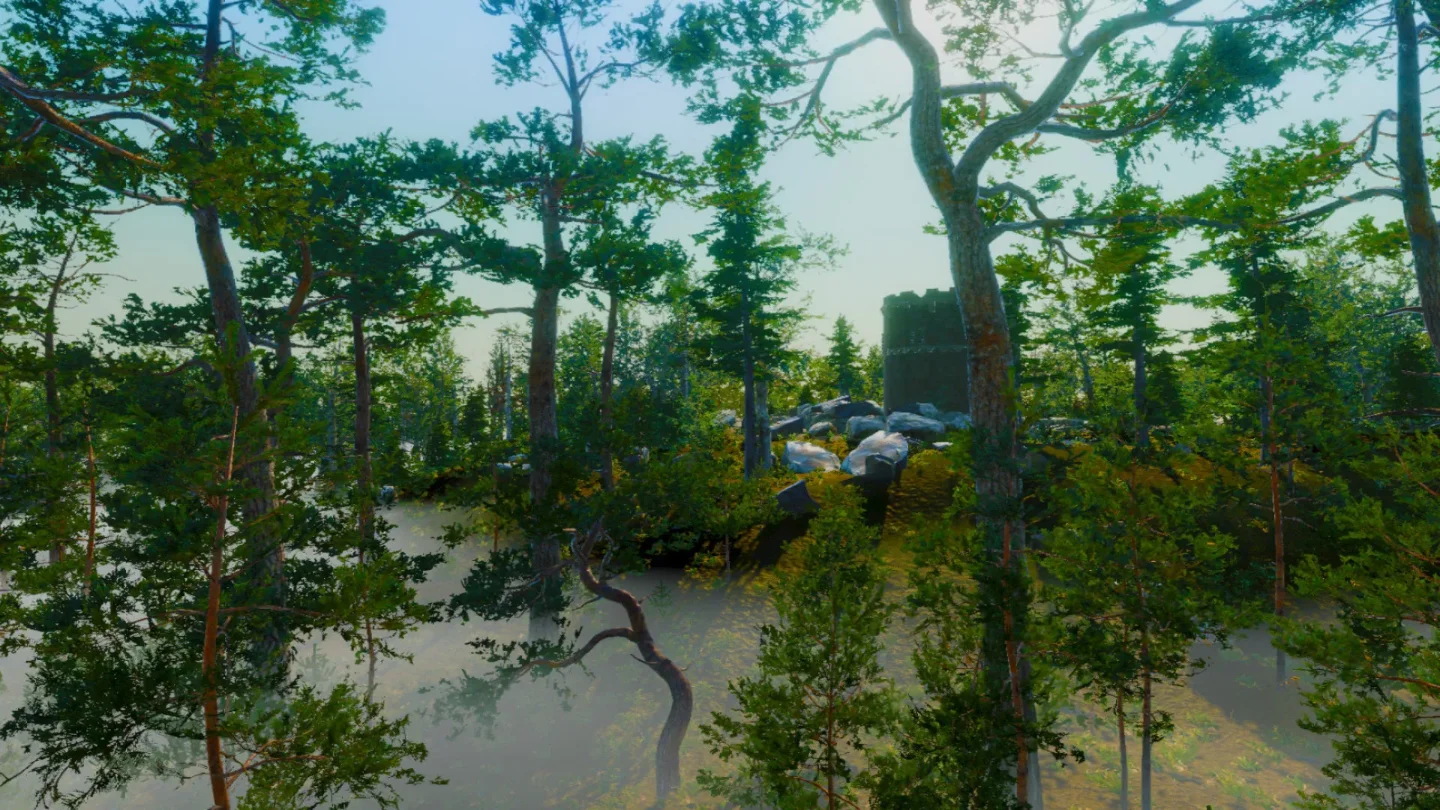
 Map & Scenario Tab on a Legacy Map
Depending on whether a 3D scene, Universal VTT or Legacy Map is currently running, part of the tab will look different. In addition, there is the special layout in 3D View mode.
The Map & Scenario Tab can also be opened by pressing the M hotkey!
Scenario Management
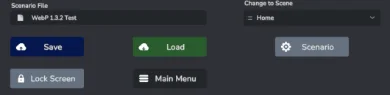
The entire scenario can be saved. The name for the save file can be set in the Scenario file field. A click on the dark blue Save button saves the current state in a file. The name in Scenario file can be changed at any time!
The dark green Load button opens the Restore Scenario window, which is described in more detail in the Main Menu tutorial.
By the way - Main Menu, the button to get back there is located directly under Load! Before exiting the scenario, Infinite Realms will ask you if you want to save again.
The light grey Lock Screen button in the bottom left corner is only available in dual screen mode! The second screen is automatically covered in the main menu and while loading a map, but can be veiled at any time with this button.
This way you can prepare some tokens, change visual settings or work on your fog of war without revealing too much to your players!
Within the scenario, you can quickly switch between the individual scenes of the scenario using the Change to Scene dropdown. Unique names for the individual scenes help a lot!
Of course you can manage, add and remove scenes to and from the scenario at any time. This can be done in the Scenario Manager, accessible via the Scenario button.
View Distance & Reset
On the right side of the Map & Scenario Tab there is a slider and a button.
With the View Distance slider the position of the viewer camera on the map can be changed vertically. So basically you can zoom out and in again. The action on the map remains untouched, only the position of the observer changes!
Setting the View Distance moves the camera vertically!
2D Legacy Map Options
If a Legacy Map is added to the scenario, it will have different controls in the Map & Scenario Tab depending on the file type.
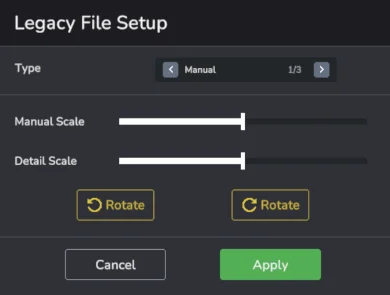
Infinite Realms automatically scales the image so that it fits exactly on the screen. This is not always ideal, especially with larger maps. Therefore, there are several options to fix this.
First is the Manual Scale slider, which can be used to zoom the map continuously. You can fine tune scaling in this manual mode and all other options with the Detail Scale slider.
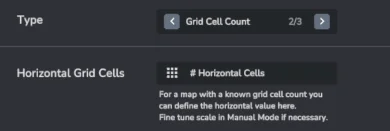
The Cell Pixel Size comes into play when you know the dots per inch (dpi) resolution of your battle map. The standard for web images is 72 dpi and in case the map artist has taken care about defining a dpi this option will work.
You can always re-run the setup. But please mind that any Walls and Lights you have placed will be deleted along with any Fog of War and Paint Tool information!

Universal VTT
Universal VTT files are basically image files that have some more information included. Infinite Realms uses grid size, lighting and wall information.
Grid information is used to automatically scale the battle map to your Grid. Mind that the physical grid size on your player screen depends on your Settings.
Universal VTT maps can be created with various tools like Dungeon Alchemist, Dungeon Fog, Dungeon Draft and others.
Apart from our integrated 3D Scenes Universal VTT files are the most convenient way to get great looking maps on the table.
Unity Scenes
Unity Scenes are 3D Scenes that are not loaded from our cloud servers but from a file. You can find information on how to build your own 3D scenes on our Create page, along with two sample 3D battle maps you can download for free.
Once a Unity Scene is loaded in Infinite Realms it behaves like any other 3D Scene.
3D Scene Options
But the nice depth effect brings its own problems - namely when the map has really relevant differences in elevation and the action takes place further down. Everything looks smaller than it actually is due to the distance and the scaling of the grid no longer matches the background.
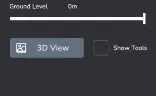
Setting the Ground Level moves Grid, Tokens and more - basically the whole playing field - vertically!
3D View
But for the flair of an adventure, for which one of our 3D scenes is used, the 3D View button is probably just as important!
After clicking the button, an animation will move the camera into the scene - which the game master can use to really set the atmosphere and the viewpoint of the player characters!
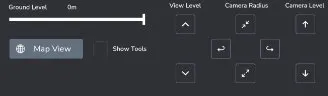
The four Camera Radius buttons are responsible for this orbit style movement. The upper key (hotkey W) moves the camera closer to the center, the lower button (S) moves away. Left (A) and right (D) orbit counterclockwise and clockwise around the center. The two View Level buttons (Z and H) control the viewing angle and the Camera Level buttons (E and Q) control the vertical position of the camera.
Use the 3D View feature to put your players right into the scene!
Video
It was recorded some time ago with Infinite Realms version 2021.1.2 and is thus not up to date.
But the basic principles and workflow still apply!
Click the cover picture to watch on YouTube!